

1
Add the hostname to your pull zone
- Open your pull zone in the dashboard
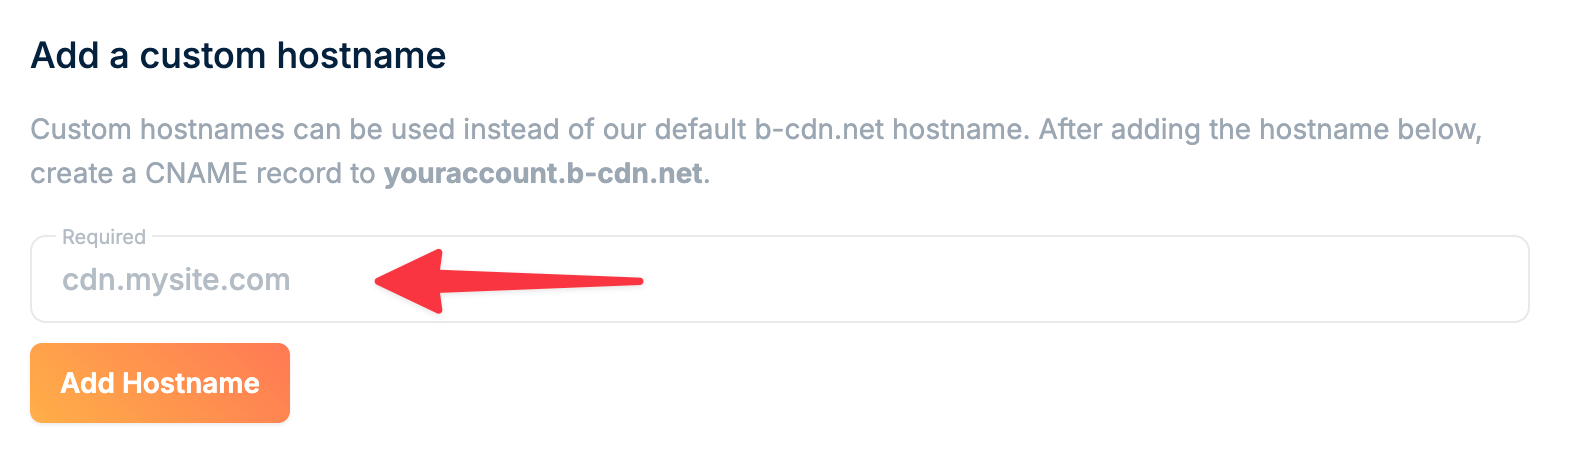
- Locate the Hostnames panel in the General section
- Enter your custom domain (e.g.,
cdn.yourdomain.com) - Click Add hostname
2
Copy the CNAME record
Copy the CNAME record value shown below the hostname field. You’ll need this for the next step.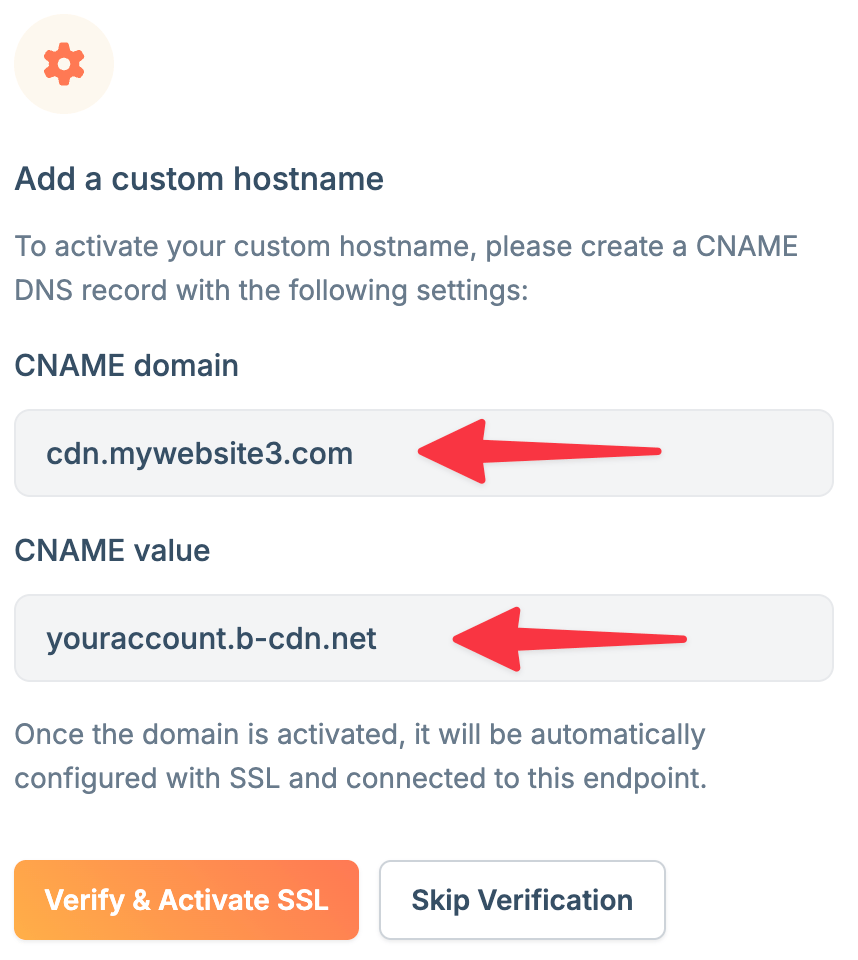
3
Update your DNS settings
Add a CNAME record at your DNS provider:
- Log in to your DNS provider (Cloudflare, Route 53, or similar)
- Create a new CNAME record:
- Name/Host: Your subdomain (e.g.,
cdn) - Type: CNAME
- Value: The CNAME from step 2 (e.g.,
yourzone.b-cdn.net) - TTL: 3600 seconds or lower
- Name/Host: Your subdomain (e.g.,
4
Wait for DNS propagation
Save the DNS record. Your domain connects to bunny.net once DNS propagates, typically within a few minutes to an hour.
5
Enable SSL
Click Verify & Activate SSL to get a free Let’s Encrypt certificate for your custom hostname.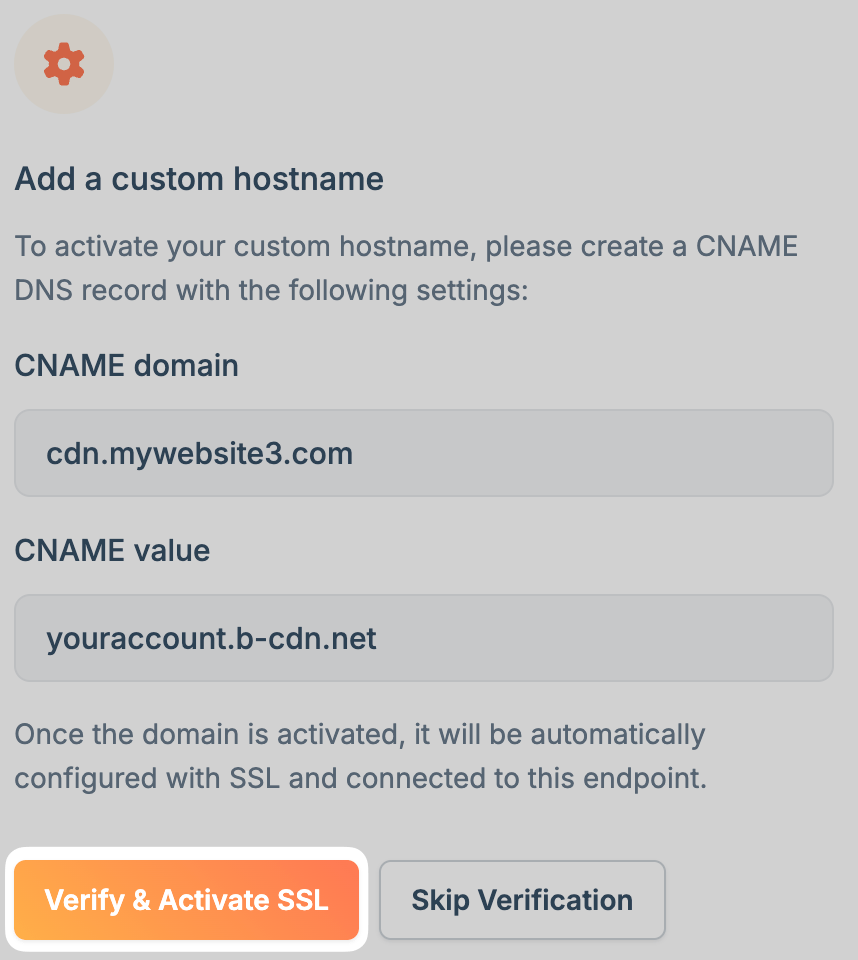
Enable SSL later
Enable SSL later
If you skip SSL verification initially, find your hostname in the Linked Hostnames section and click Enable to activate a free certificate or upload your own.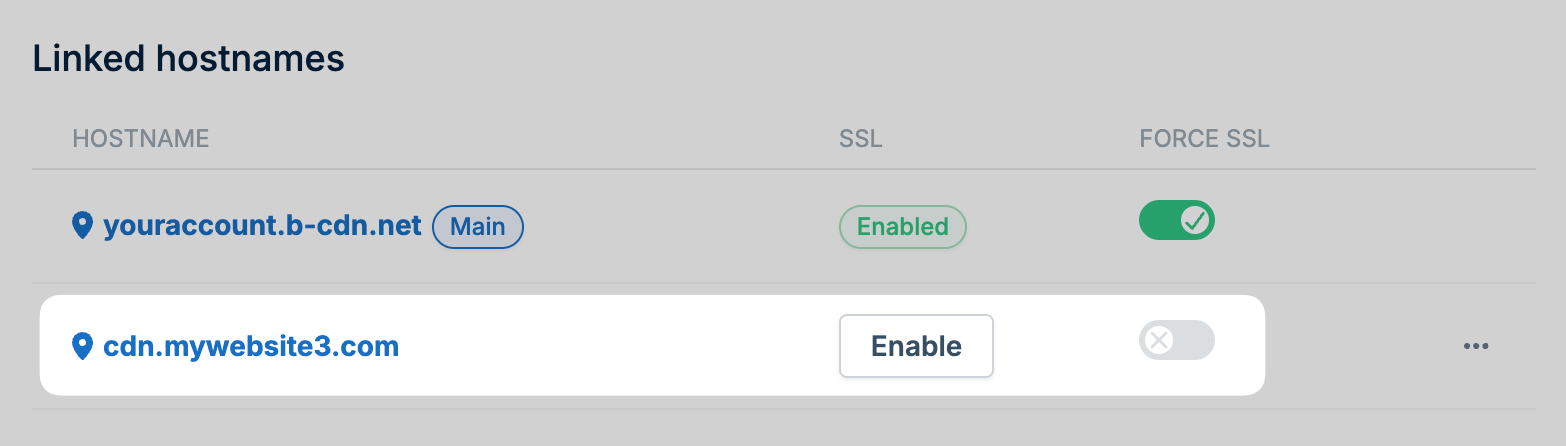
Root domains
CNAME records cannot be created at the apex level (yourdomain.com) per the DNS specification. Most DNS providers don’t support non-standard record types like ALIAS or ANAME that work around this limitation.
To use a root domain with your Pull Zone, you have two options:
- Use Bunny DNS (recommended): Bunny DNS supports CNAME flattening on apex domains, allowing you to point your root domain directly to a Pull Zone. See CDN Acceleration for setup instructions.
-
Redirect apex to www: Create a CNAME for
www.yourdomain.compointing to your Pull Zone, then set up an HTTP redirect from your root domain towww.